Common Mistakes When Hanging Curtains (and How to Fix Them)
Curtains are forgiving of a lot: a print that looked bolder on the sample card, a colour that shifts in evening light, a hem you sewed yourself. They are not forgiving of geometry. Hang a pole a hand's width too low, or order a pair of panels that barely meet in the middle, and the whole window looks mean — the sort of thing visitors notice without being able to say why.
The encouraging part is that nearly every curtain mistake is fixable, and most of them are decided before you pick up a drill. Here's what tends to go wrong, and what to do instead.
Hanging the pole too low and too narrow
This is the single most common error, and it costs nothing to avoid. A pole fixed just above the window frame makes the window look smaller and squeezes the room. Lift it: roughly 10 to 15cm above the frame, or around 8cm below a ceiling or cornice if you have the space. The higher the pole, the taller the window reads.
Width matters just as much. Brackets should sit 15 to 20cm beyond the frame at each end — more on a wide or bay window — so the curtains stack over the wall rather than over the glass. If the panels cover the window when open, you lose daylight and the room feels pinched. A wider pole also means the curtains don't have to be pulled tight to close, which keeps the pleats looking relaxed instead of strained.
Forgetting about fullness
Flat panels are the giveaway of a rushed purchase. Curtains need fabric to spare, or they hang like sheets of cardboard and never quite close.
Measure the pole between the finials, or the track width, then multiply:
- Pencil pleat and pinch pleat: 2 to 2.5 times the width.
- Eyelet and tab top: 1.5 to 2 times the width, as the heading takes up less fabric.
- Sheer voiles and lightweight linens: 2.5 times or more, so the folds stay soft.
So a 150cm pole wants at least 300cm of fabric for a pleated heading. If you're buying a ready-made pair, add the two panel widths together before you check the label, and remember that two narrower panels give a fuller look than one wide one.
Getting the drop wrong
Decide the finish line before you order, because it changes every measurement. A floor-length curtain usually sits 1 to 2cm above the floor, or just brushing it. For a puddling effect, add 5 to 10cm. Sill length looks best ending 1 to 2cm below the sill, which also keeps curtains clear of a radiator.
Now measure at three points — left, centre and right — and work from the shortest drop if you want a clean floor line, or the longest if you'd rather have a slight break. Old houses are rarely level, and a curtain that grazes the floor at one end and floats at the other is nearly always a measuring problem rather than a sewing one.
If a radiator sits under the window, think about how you want the arrangement to work. Floor-length curtains hanging over it trap warm air behind the fabric, so a sill-length drop or a separate blind often suits that wall better.
Skimping on linings
Unlined curtains fade, glow in morning light and hang thinly. Lining is not an upsell; it's what makes curtains behave.
- Standard lining: protects the face fabric from sunlight and gives a fuller drape.
- Blackout lining: useful in bedrooms and for shift workers, and it helps soften street light.
- Thermal lining: adds a layer of bulk that takes the chill off a draughty sash window.
- Interlining: a soft layer between fabric and lining that gives a rich, hotel-style weight to the folds.
If you already have unlined curtains you like, a local workroom can often add lining without replacing them.
Layering without a plan
Layer from the glass outwards: blind nearest the window, then voile or sheer, then the main curtain. Anything else and you'll fight with cords and hems every time you open them.
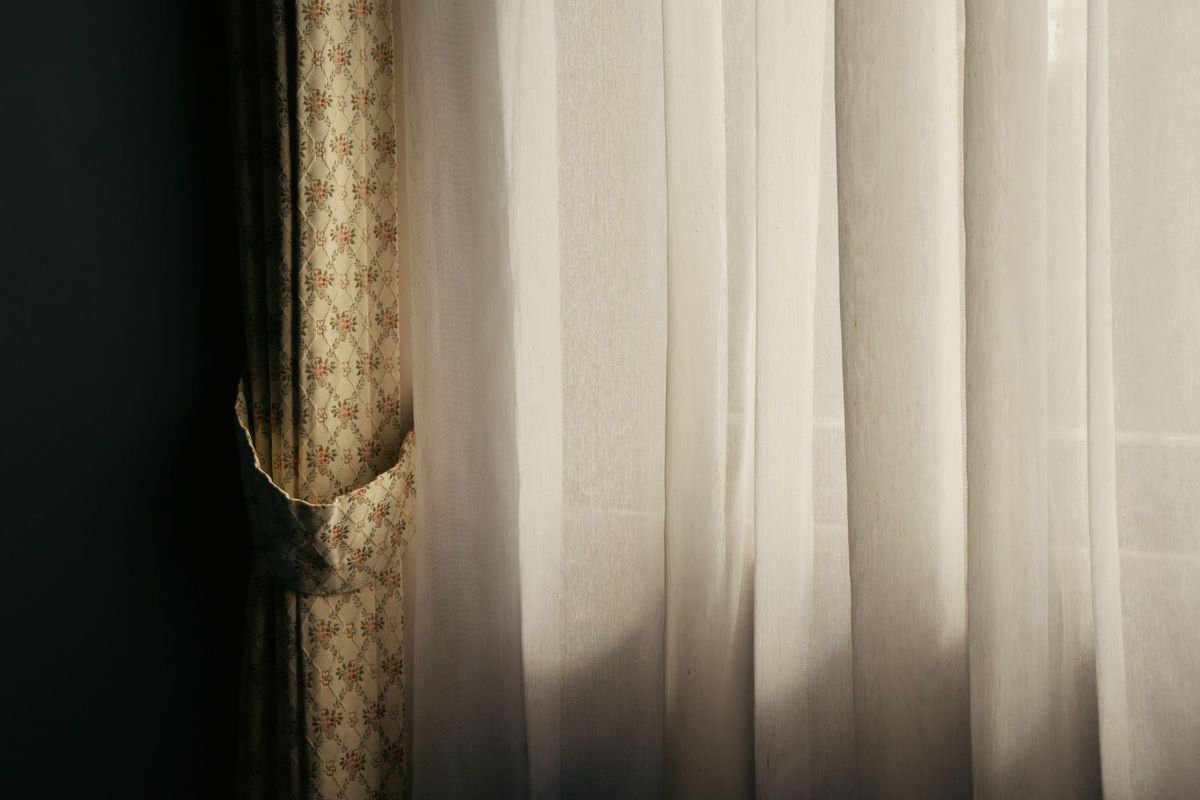
Bay windows trip people up more than any other shape. A straight pole across a three-sided bay leaves triangles of light at the corners and the panels can't close properly against the returns. A bay track, a bendy pole or three short poles on the angles will all work better. Where you want sheers and curtains on the same line, use a double track and set the sheer on the inner channel.
Blaming the curtains for a fixing problem
Gaps at the leading edges, sagging middles and poles that pull away from the wall are usually installation issues. Plan on a bracket every 60 to 70cm, always with one at each end and an extra one either side of a join on a track. A pair of lined floor-length curtains weighs more than most people expect, so use hollow-wall fixings in plasterboard and proper wall plugs in masonry, and check nothing is hidden behind the plaster before you drill.
With the heading, gather pencil pleat tape evenly, tie the cords off at both ends and resist pulling it so tight that the fabric crushes. Space the hooks at consistent intervals — every third pocket is a useful default — and hook them at the same height across both panels. For eyelets, check how the leading edges meet: an even number of eyelets leaves both panels facing the same way, which is rarely what you want in the middle of a window.
Before you drill: a five-minute check
- Mark the pole height in pencil and stand back to look at it from the doorway.
- Check the bracket positions extend well past the frame on both sides.
- Add up the panel widths and confirm you have at least twice the pole width in fabric.
- Measure the drop in three places and note the shortest and longest.
- Confirm your lining choice suits the room, then check what's behind the wall before drilling.
Get those five right and the curtains will do the rest. If you're unsure what's behind an old wall, or working on a listed building where consent may be needed, a qualified fitter is money well spent.
Photo: Iban Lopez Luna / Pexels

You Might Also Like
Carpet, laminate, vinyl and engineered wood compared on durability, cost and maintenance — with practical advice on which flooring works best in each room of a busy family home.
A practical beginner's guide to transforming second-hand furniture: how to choose a solid piece, prep it properly, paint in thin coats, and seal it for a durable finish.